Before we get to this week’s topic, I just have to share a picture of three quilts. After last week’s post about baby Caleb’s quilt, Eileen emailed me this message:
“Hello Chris, Delighted to hear more Mom’s are going for the “jungle theme”! I made these three quilts (my own design) for my Goddaughter’s baby boy. Couldn’t settle on which animal she might like. As it turned out she went with elephants for much of her theme in the baby’s room. Whew – glad I made one!! But she got all three and seems to love them. Little too early to tell which one Baby Bennett will like!”
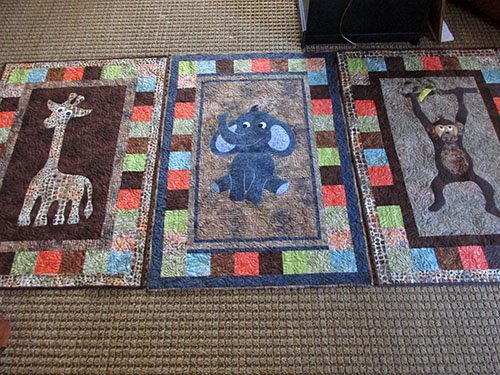 What a lucky little boy – to get all three! I think Eileen may have to market her designs – those animals are adorable. Thanks Eileen!
So – what’s a “Lunch Bunch” quilt?
Back in the late 90’s I belonged to a local guild, Common Threads, that met on Wednesday mornings. One of the great things about this larger guild, was that it had smaller sub-groups called “Bees”. These smaller groups allowed us to get to know some of the members one-on-one. There was a “Scrap Bee”, “Charity Bee”, “Miniature Bee”, and an “Appliqué Bee”, just to name a few. Each “Bee” had a “Queen Bee” who ran that group and chose the time and location for the bee. All of the bees were kept organized by the “Beekeeper”. It was a great idea!
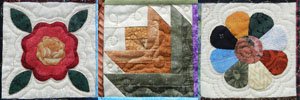
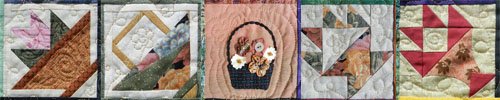
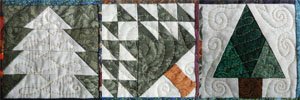
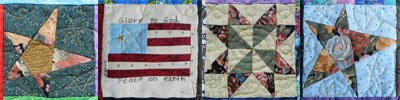
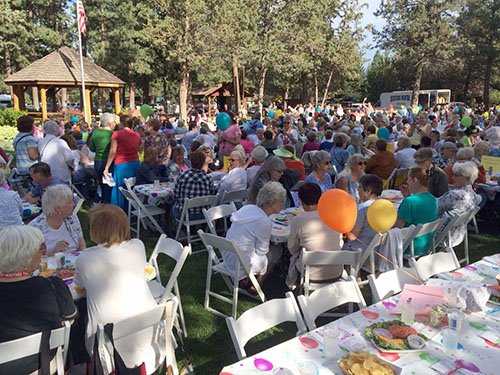
The “Bee” I joined was called the “Lunch Bunch Bee”. We met at a different restaurant for lunch after the meeting each month, and exchanged 4″ blocks. We chose a different block theme each month. There were 7 of us in the group,
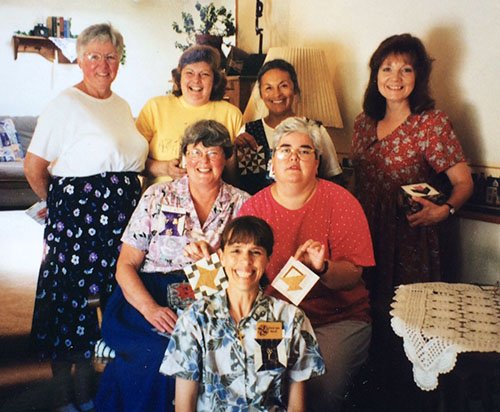
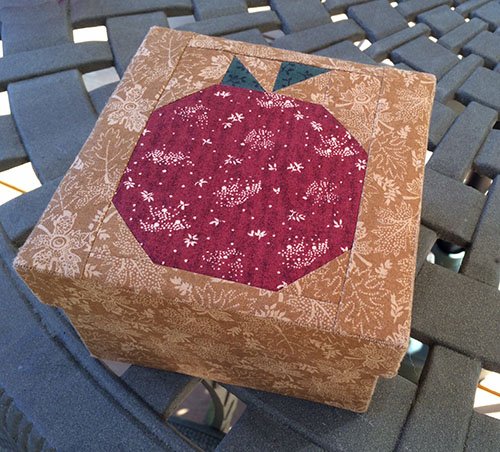
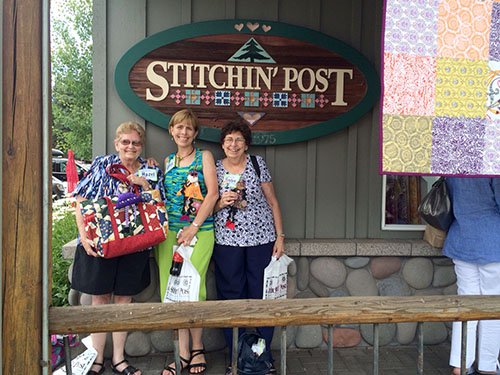
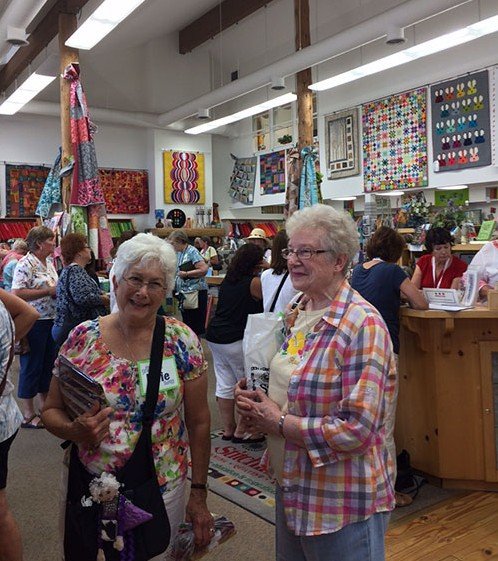
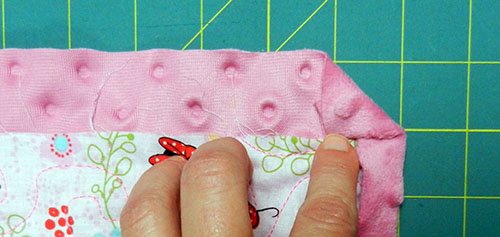
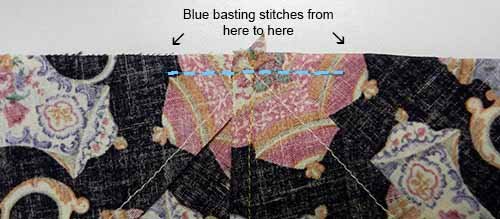
which meant we needed to make 7 identical blocks each month and we did this for 8 months. We kept them in fabric covered boxes we covered in a guild class. Joan is holding hers in the picture above, and here’s a close-up of mine:
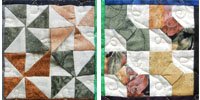
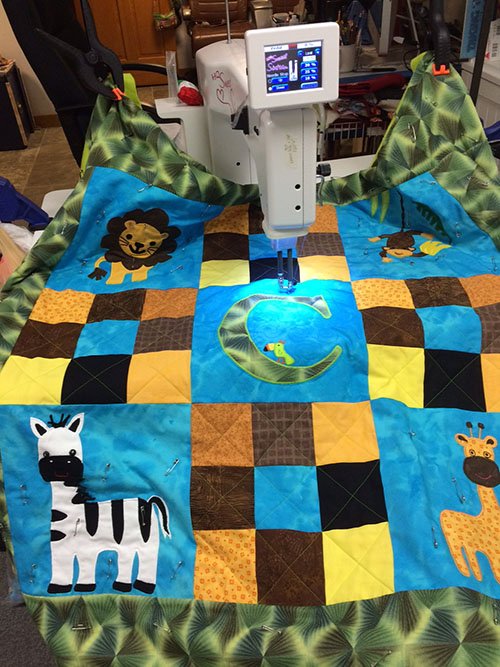
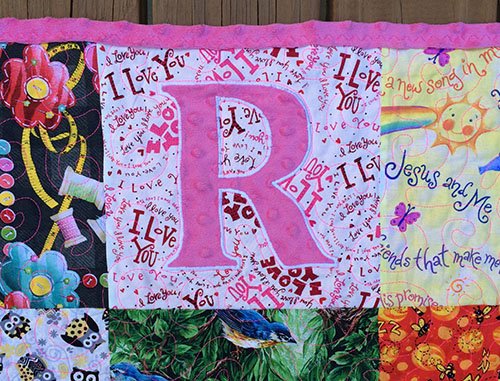
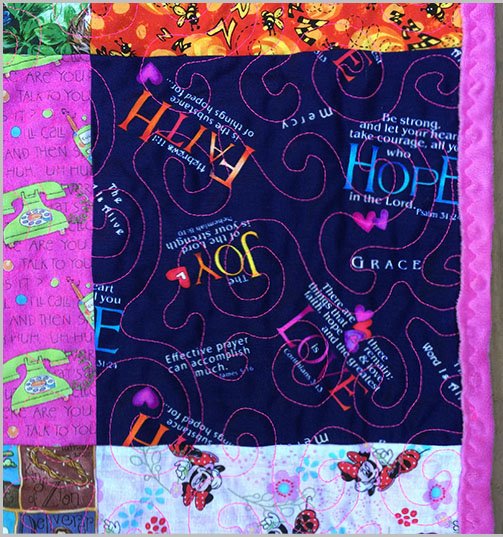
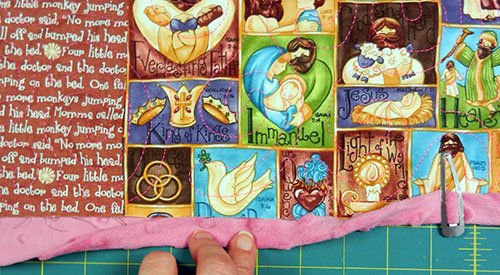
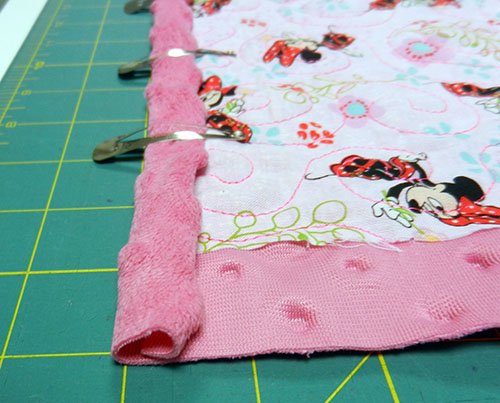
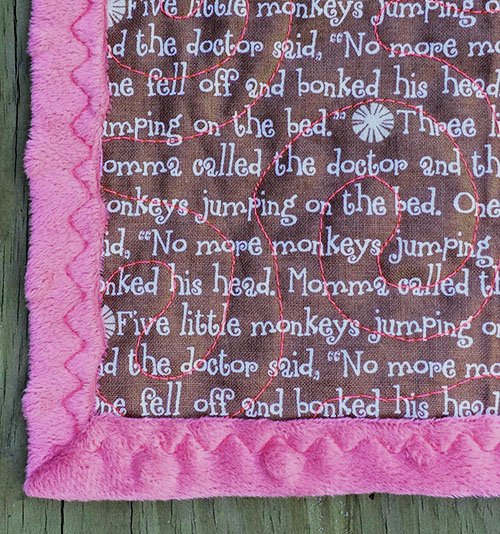
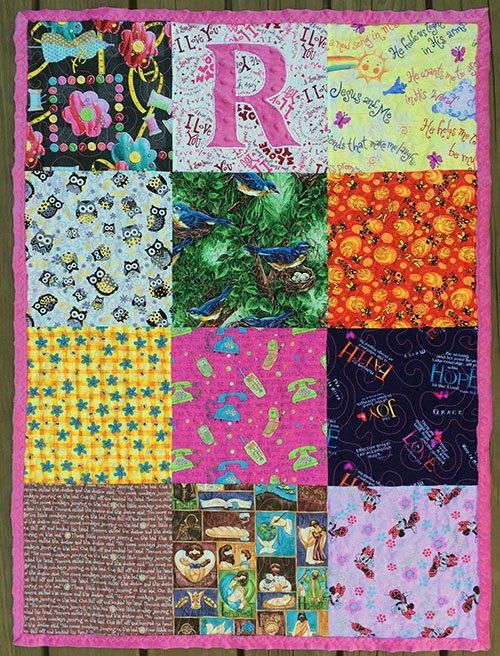
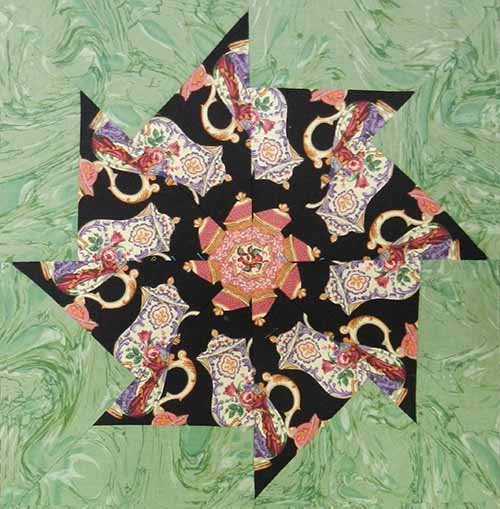
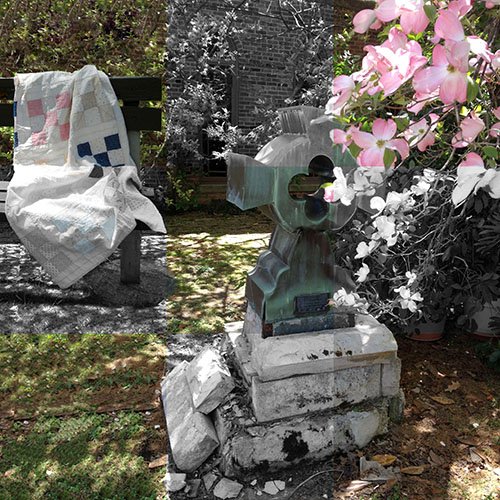
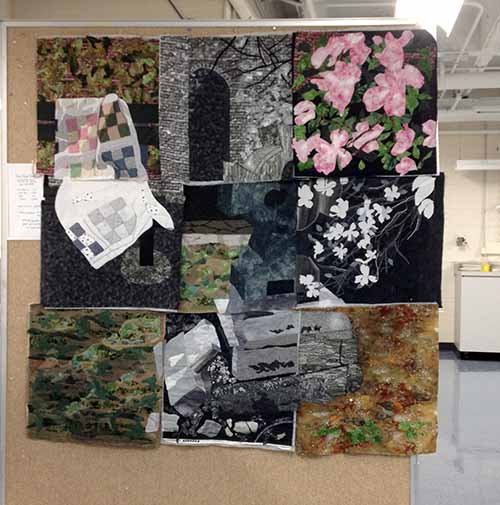
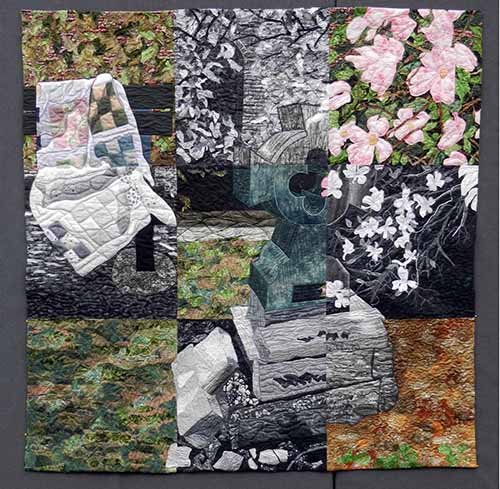
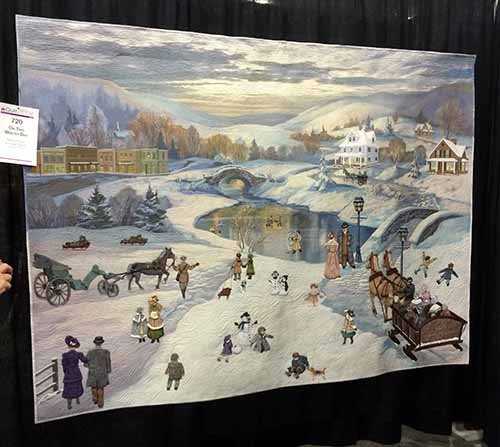
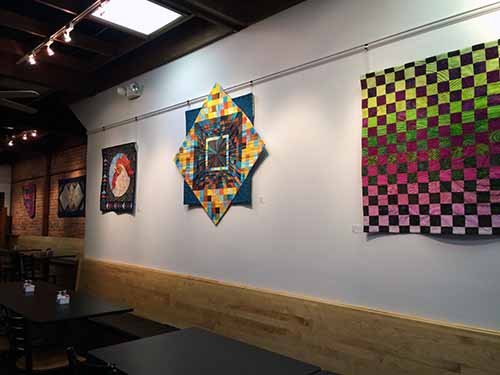
I didn’t think to photograph all the blocks before making a quilt with them, but I did take pictures of some of my favorites after the quilting was done (these were placed together as you see them here in Photoshop, you’ll need to wait to see how they fit into a quilt):


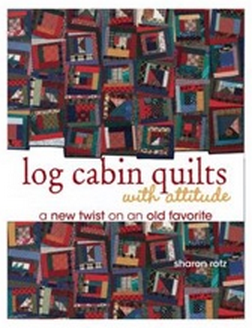
These blocks sat in the box for a long, long time! Then my friend, Sharon Rotz, wrote a book called Log Cabin Quilts With Attitude.
I decided my 4″ block collection would make great centers for these crazy log cabin blocks.
It was so much fun, I wanted to make more blocks and came up with additional centers.

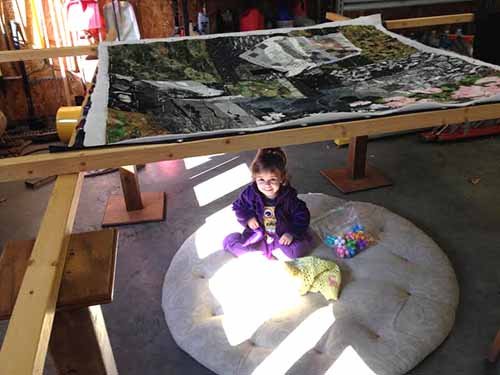
I cut each block to finish 10″ in width, but I let the length be determined by the wonky strips added to each one. I then sewed them into long columns. Because the blocks were the same width, they all fit together into the column, but the columns themselves ended up being a variety of lengths.
Since this quilt is one of my bigger ones, and it took many years to create, I’ve decided to make this a series post. Next week you’ll find out how the columns were quilted and put together. The following week will have information on a slick binding technique – and a picture of the finished – yes, I said finished – quilt!
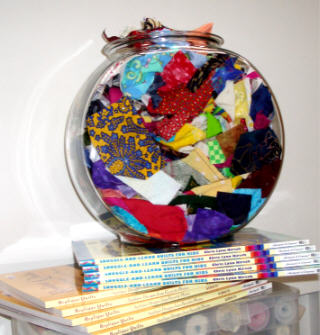
A Block Stack Challenge
Do you have a stack of exchange blocks like mine, just waiting to become a quilt? I’d like to challenge you to send me a picture of your stack of blocks (feel free to arrange them any way you like – thrown all over the room, or in one tall stack, or artistically draped, or… ???). I’ll then post the pictures (without naming names) and challenge each participant to put them in a quilt. The first one to actually make their blocks into a quilt will get their name and photo in the blog, along with a wonderful prize of my choosing!!!


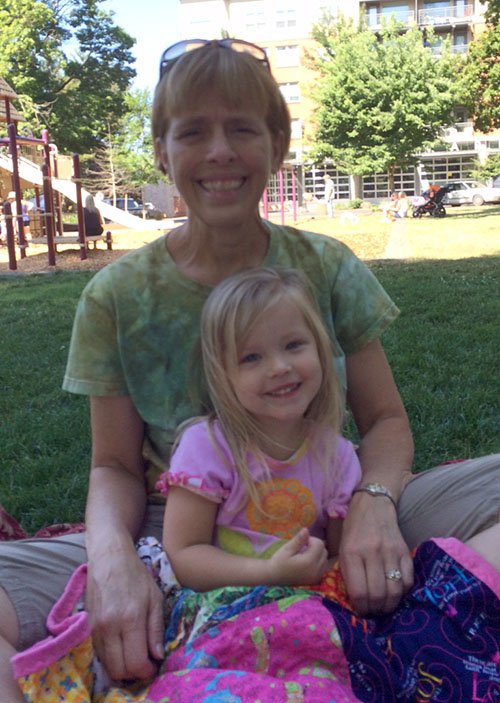


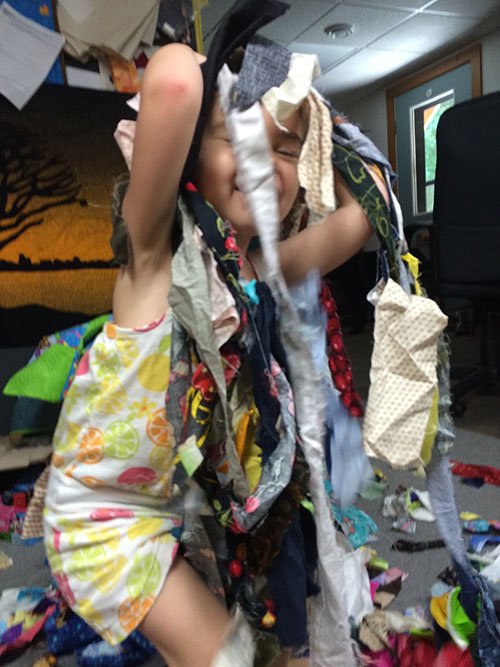
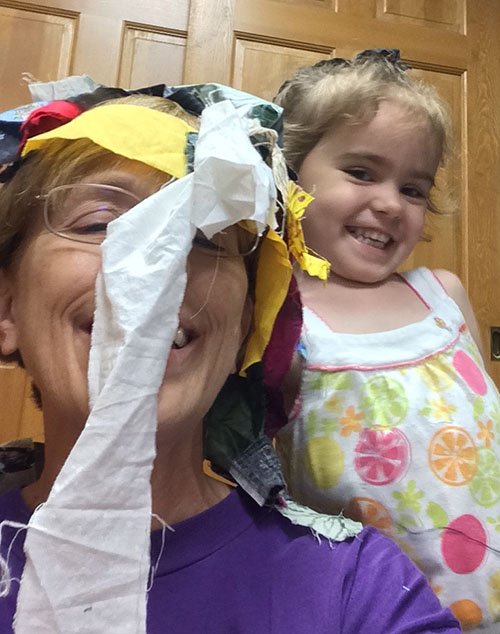


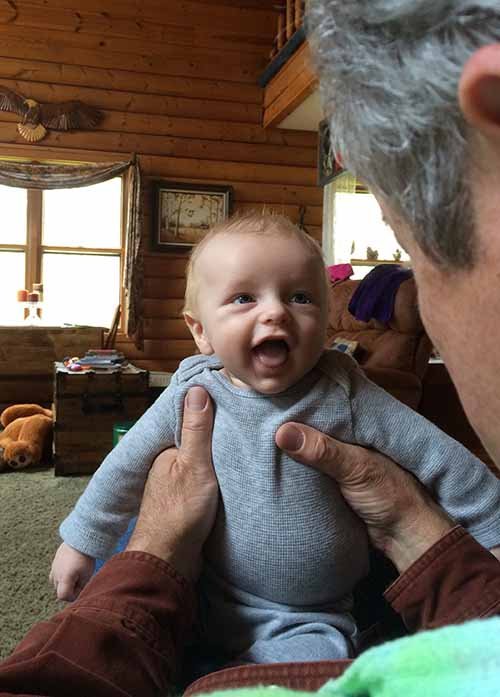
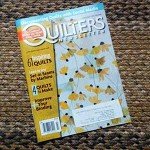 Now I’d just like to share a blessing – a number of months ago I submitted a story for Quilter’s Newsletter’s “300 Words” feature and it was published in their latest issue. The topic was quilts and kids, and I wrote about my granddaughter
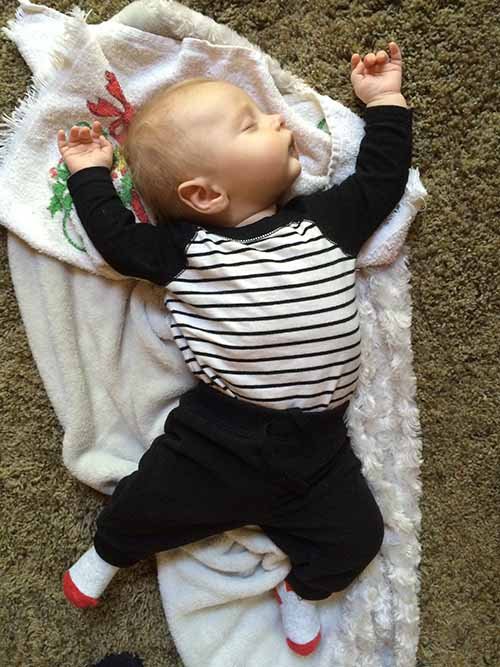
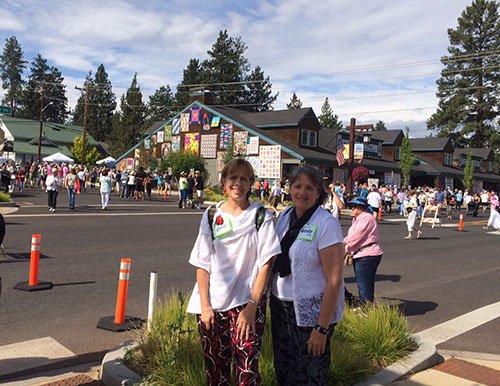
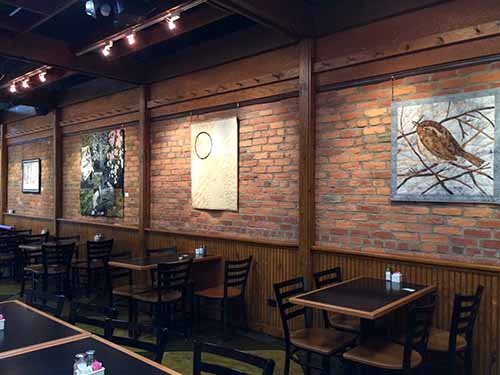
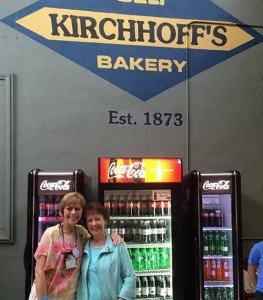 y and I had a display of our quilts at the Tribeca Gallery, but Wendy wasn’t able to spend Quilt Week in Paducah this year (It is her birthday today though – happy, happy birthday Wendy!). Another dear friend, Linda, joined me in the fun. Here we are having lunch at Kirchhoff’s:


